


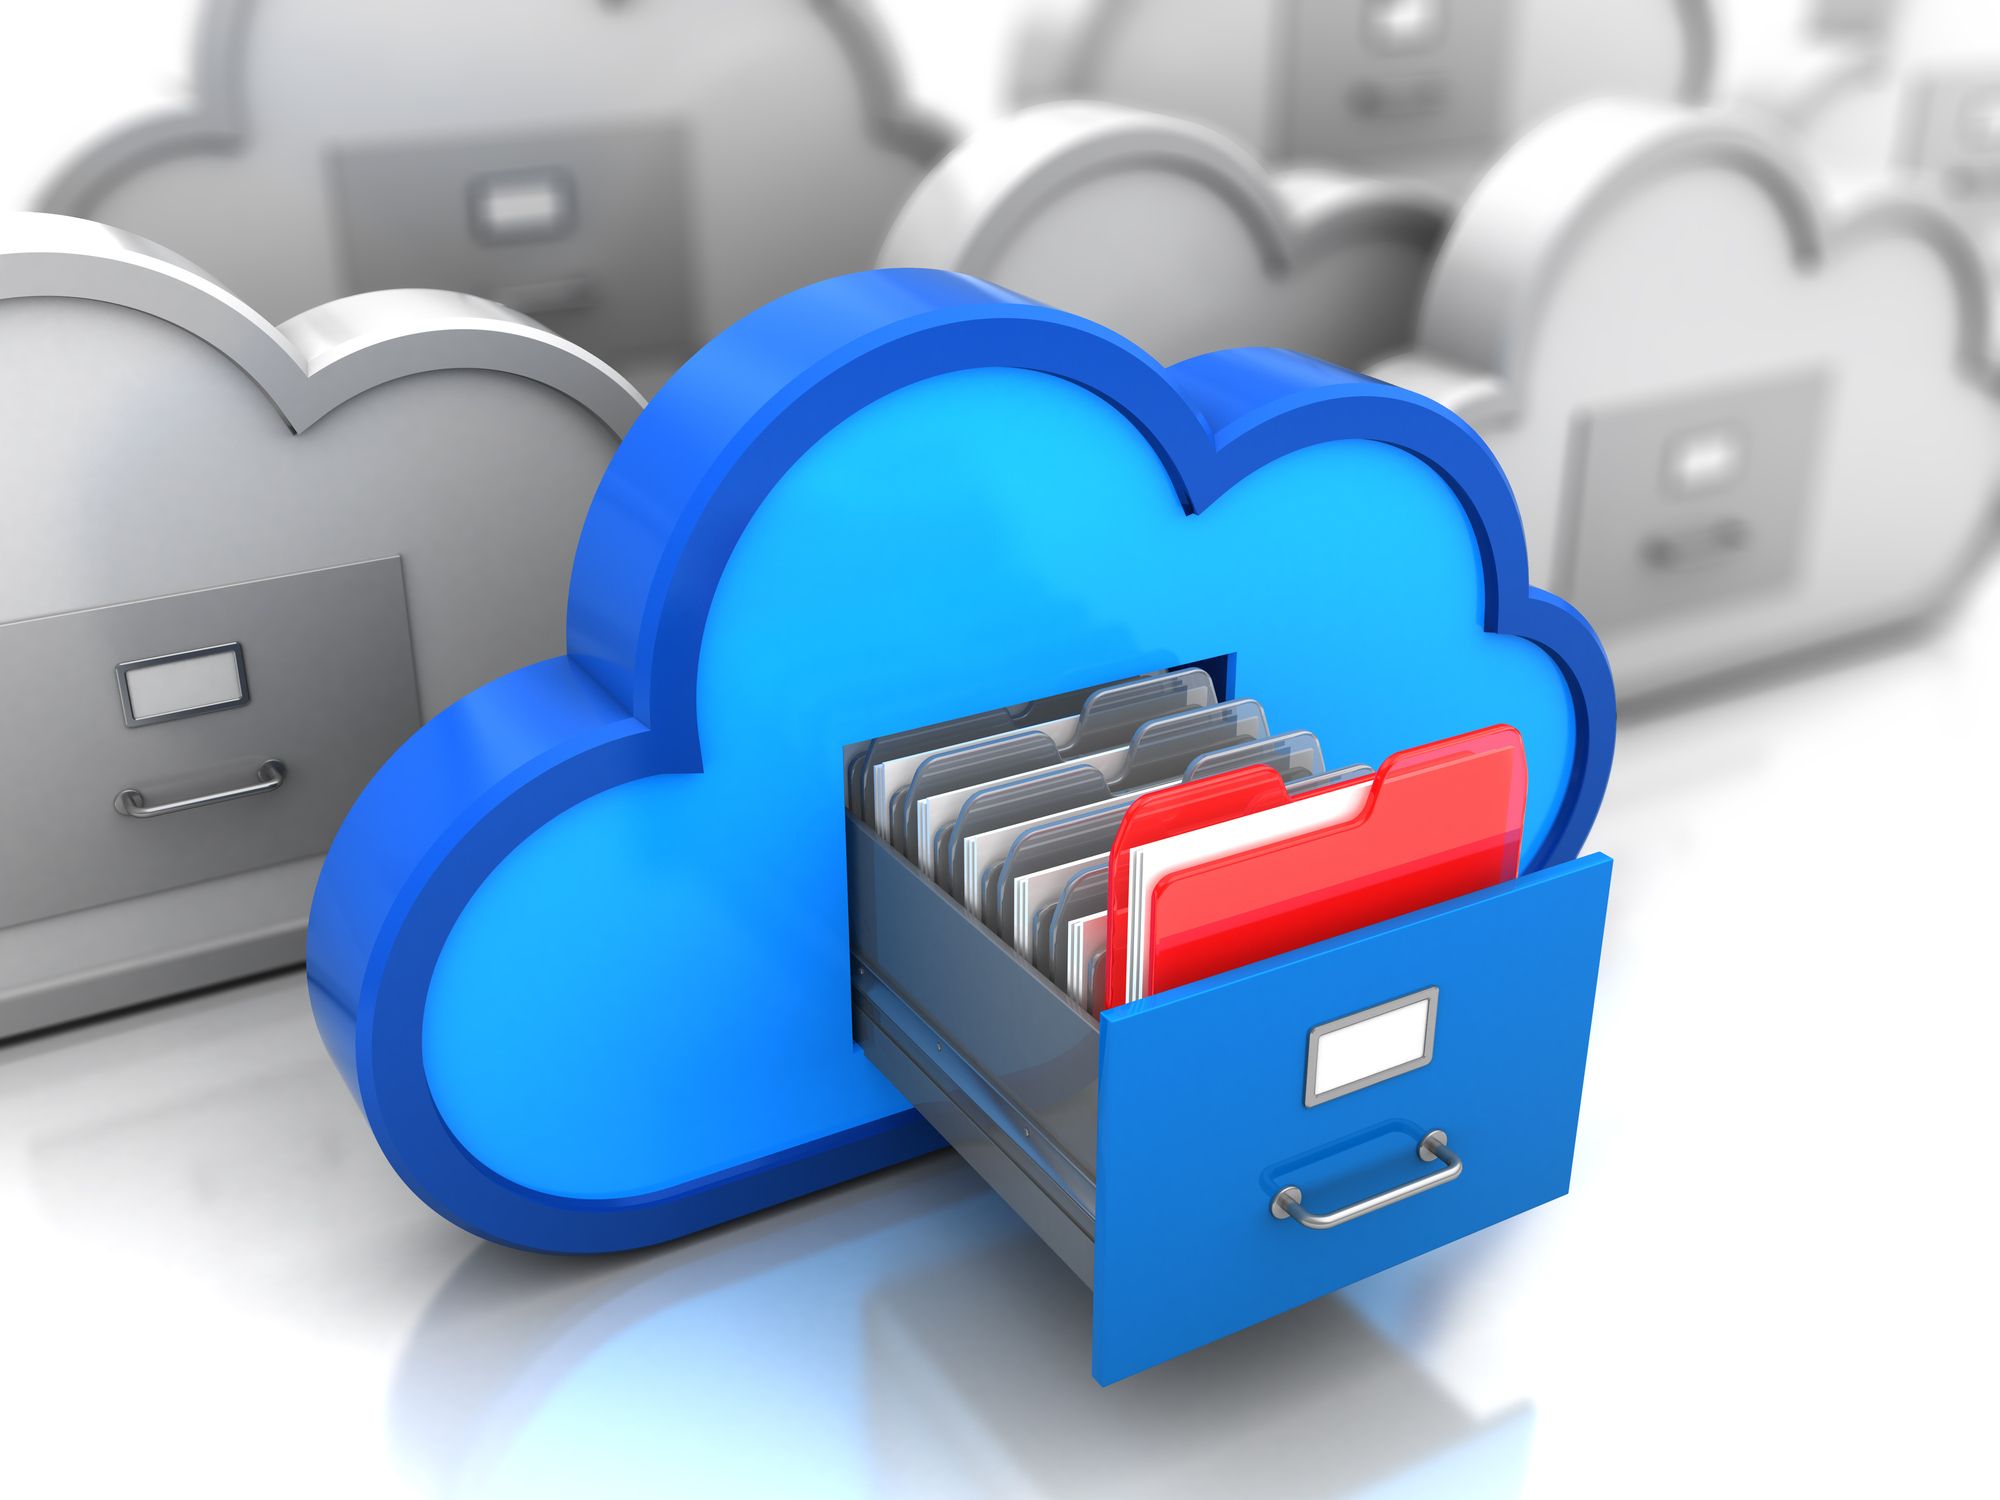
Learning how to quickly and efficiently share your spine images online can help you to receive multiple opinions from overseas specialists without delay.
As a pioneering Medical Travel organisation, Spine Connection provides access to faster, more affordable and superior spine treatment overseas.
In order to provide multiple medical opinions from our trusted specialists in Thailand and Germany, we need you to complete our patient evaluation form, and share your recent spine images with us via express post or online.
Let us know which images you already have from within the last 6 months (X-Rays, MRI, CT, Bone Scan) and we will advise what we need on a case-by-case basis.
Tip: If you don’t have the images on CD, call the helpful admin staff at your radiology clinic and ask them to make an extra copy for you to pick up. They may ask you to show ID and charge a small fee.
Your Radiology clinic may also have an online viewing platform, so your specialist(s) can login to view your images. If this is applicable in your case, then you may be able to skip the whole ‘Upload to Dropbox’ section below!
If you only have access to your images on CD, please follow the steps below…
How to Upload your Spine Images to Dropbox:
- On your computer, visit http://www.dropbox.com and start a free account.
- In your new online Dropbox account, create a new folder to share.
- For ease of reference, name the folder something like (Firstname Lastname Spine MRI).
- Put CD in your computer, and open to explore folders (Do not run the CD)
- Look for a folder called ‘DICOM’, ‘DICOMDIR’, ‘IMAGES’ or similar. This will contain subfolders, and the images of your spine. These will be many unviewable files all together in series of folders. (you need special DICOM viewing software to see them).
- Drag and drop this folder off the CD and onto your Computer Desktop, then either compress or zip this folder up
- In your web browser, open the Dropbox folder we made in Step 2, then Drag and drop the compressed DICOM folder in there.
- Please double check: All internal folders and files have uploaded to Dropbox, so that inside it looks the same as the original folder on your CD (sometimes it only uploads an empty folder without the contents.
- Share the Dropbox folder with assessment@spineconnection.org.
Note: Radiology Clinics use DICOM image files as a medical industry standard, so you likely won’t have the software to view these on your computer.
If you get stuck during this process you can ask a ‘tech savvy’ friend or family member for assistance or contact our team and we are always happy to help.
Disclaimer: While Dropbox delivers our patients enjoyable time and cost efficiencies and has been built with multiple layers of encryption, file recovery and security testing, it was not purpose built for the storage of medical records. Our patients and prospective patients choose to use Dropbox at their own risk.